> For the complete documentation index, see [llms.txt](https://www.sunscan.net/llms.txt). Markdown versions of documentation pages are available by appending `.md` to page URLs; this page is available as [Markdown](https://www.sunscan.net/fr/utilisation/observer/markdown.md).
# Le soleil en Hα
This guide provides step-by-step instructions for performing Hα solar observations using the SUNSCAN system.
{% hint style="info" %}
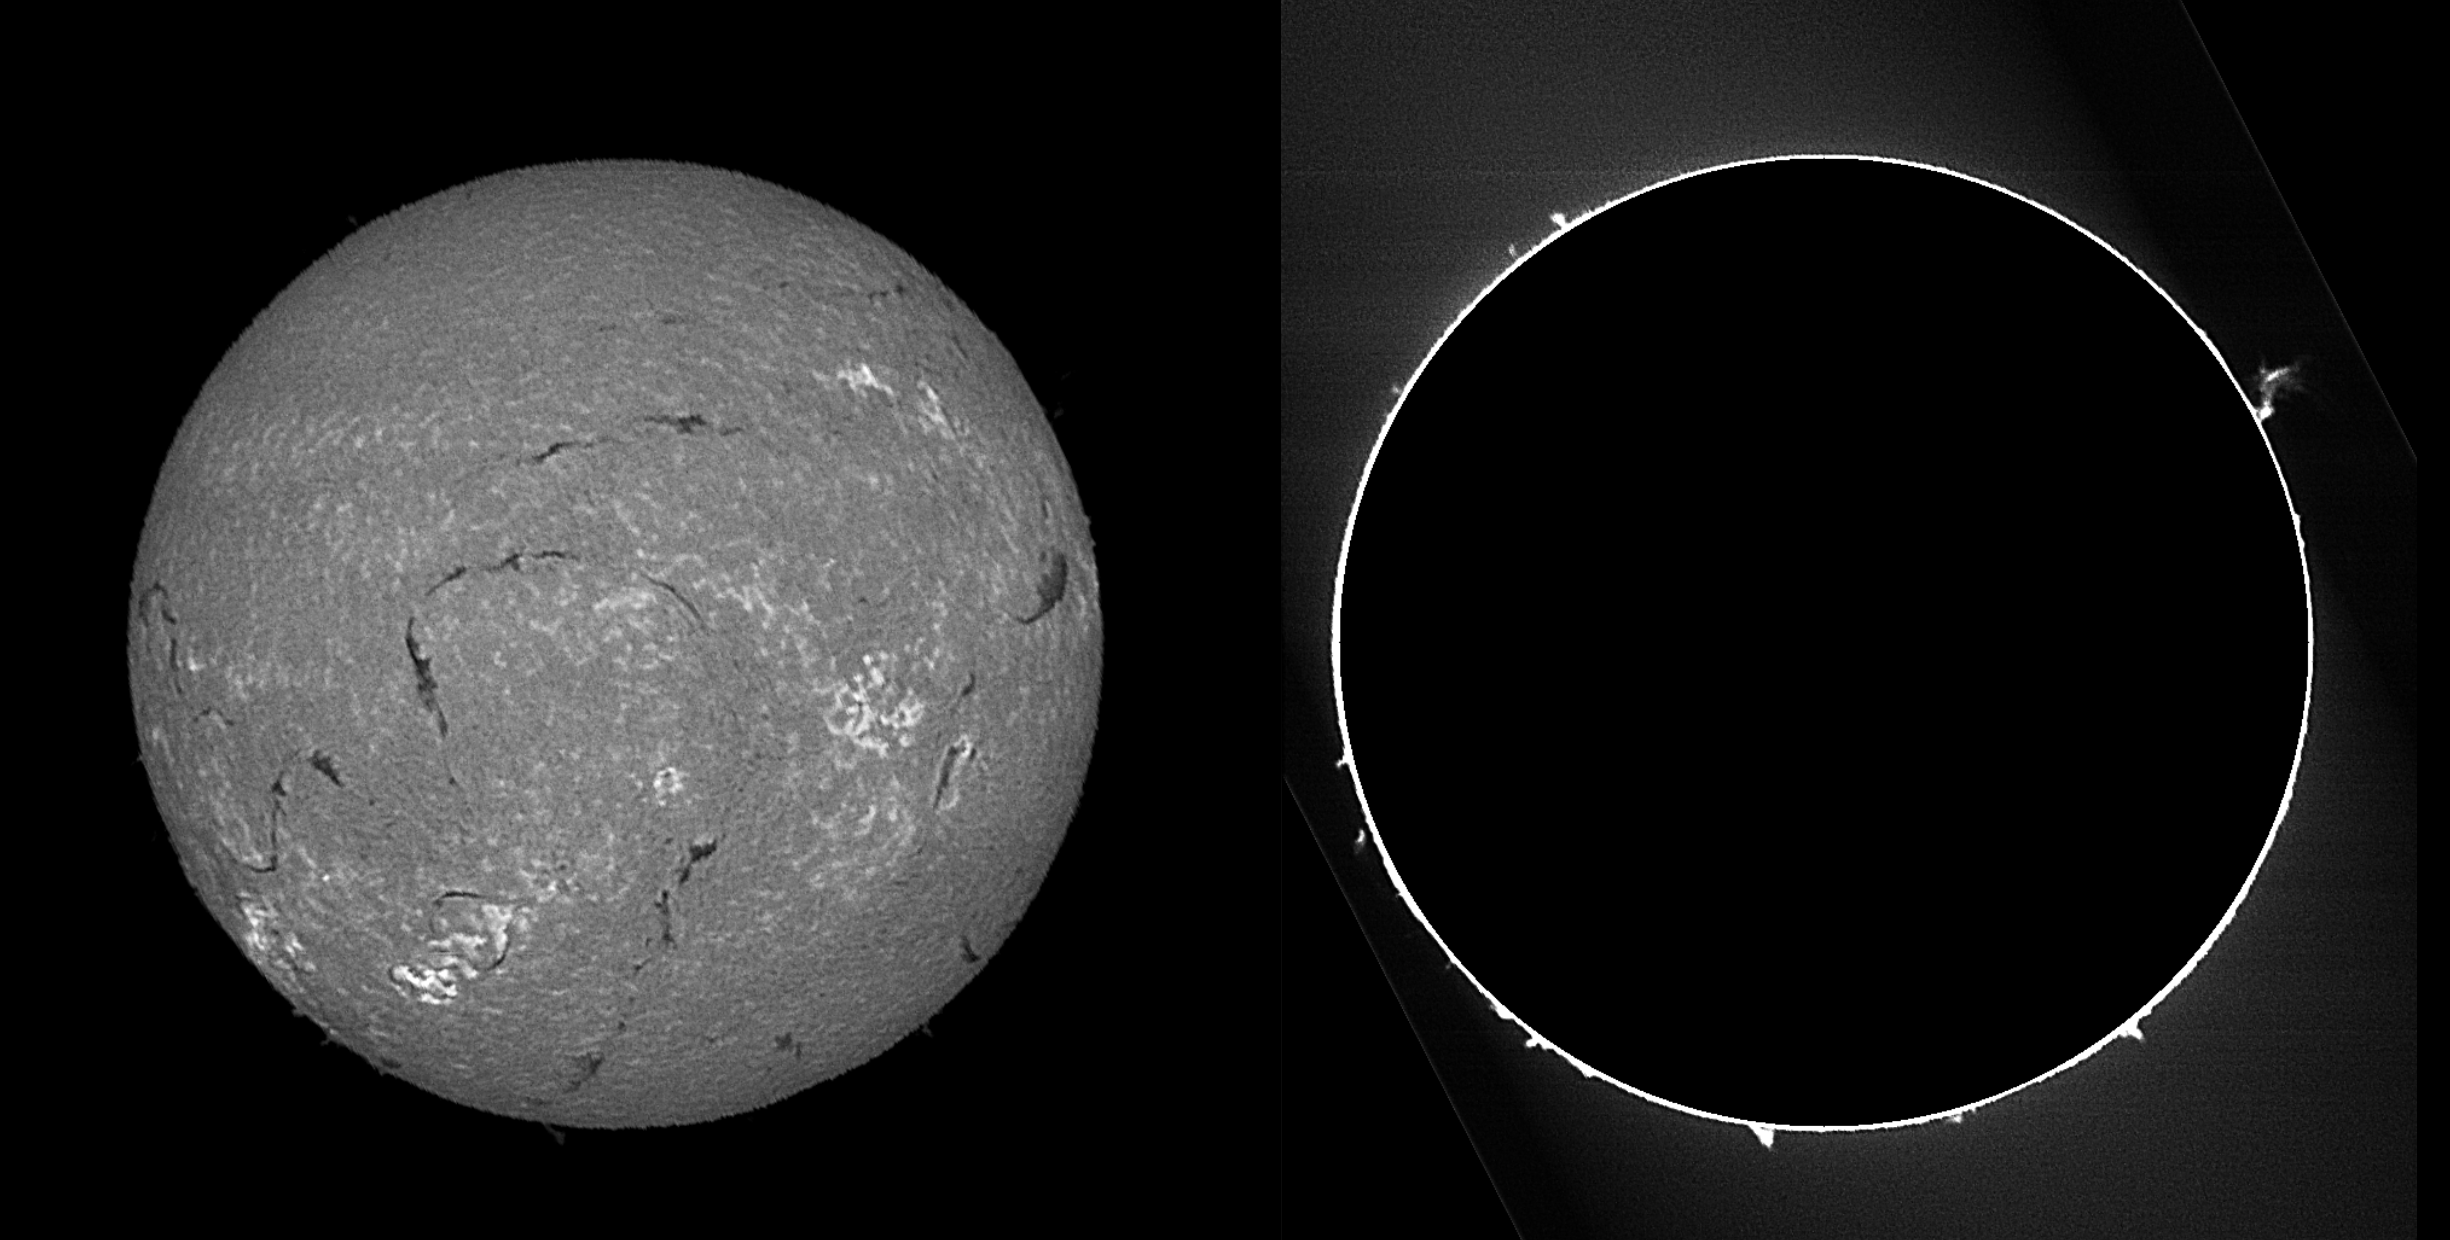
The **Hα line** reveals a detailed view of the Sun's chromosphere, the layer just above the Sun’s surface. When observing in **Hα**, we can see features like solar prominences, filaments, sunspots, and plages, which are active regions on the Sun’s surface. This specific wavelength of light, at 656.3 nanometers, is emitted by hydrogen atoms and highlights areas of intense magnetic activity. Observing the Sun in the H-alpha line allows us to capture dynamic solar phenomena, such as flares and eruptions !
{% endhint %}
### Prerequisites
Before starting, ensure you've completed the configuration and adjustment steps outlined here: [Sunscan Configuration and Adjustment](https://www.sunscan.net/build/3.-configure-and-adjust).
{% embed url="" %}
### Observation Steps
* **Power on** SUNSCAN\
Turn on the Sunscan system.
* **Connect to** SUNSCAN **Wi-Fi**\
Using the mobile application, connect to the SUNSCAN Wi-Fi network.
* **Connect the Camera**\
In the app, tap the "Connect the Camera" button.
* **Align the Telescope with the Sun**\
Use the pinhole sight to point the telescope at the Sun.
* **Fine-tune the Sun’s Position**\
On the scanning page, refine the Sun's centering within the field of view.
* **Verify H-alpha Positioning**\
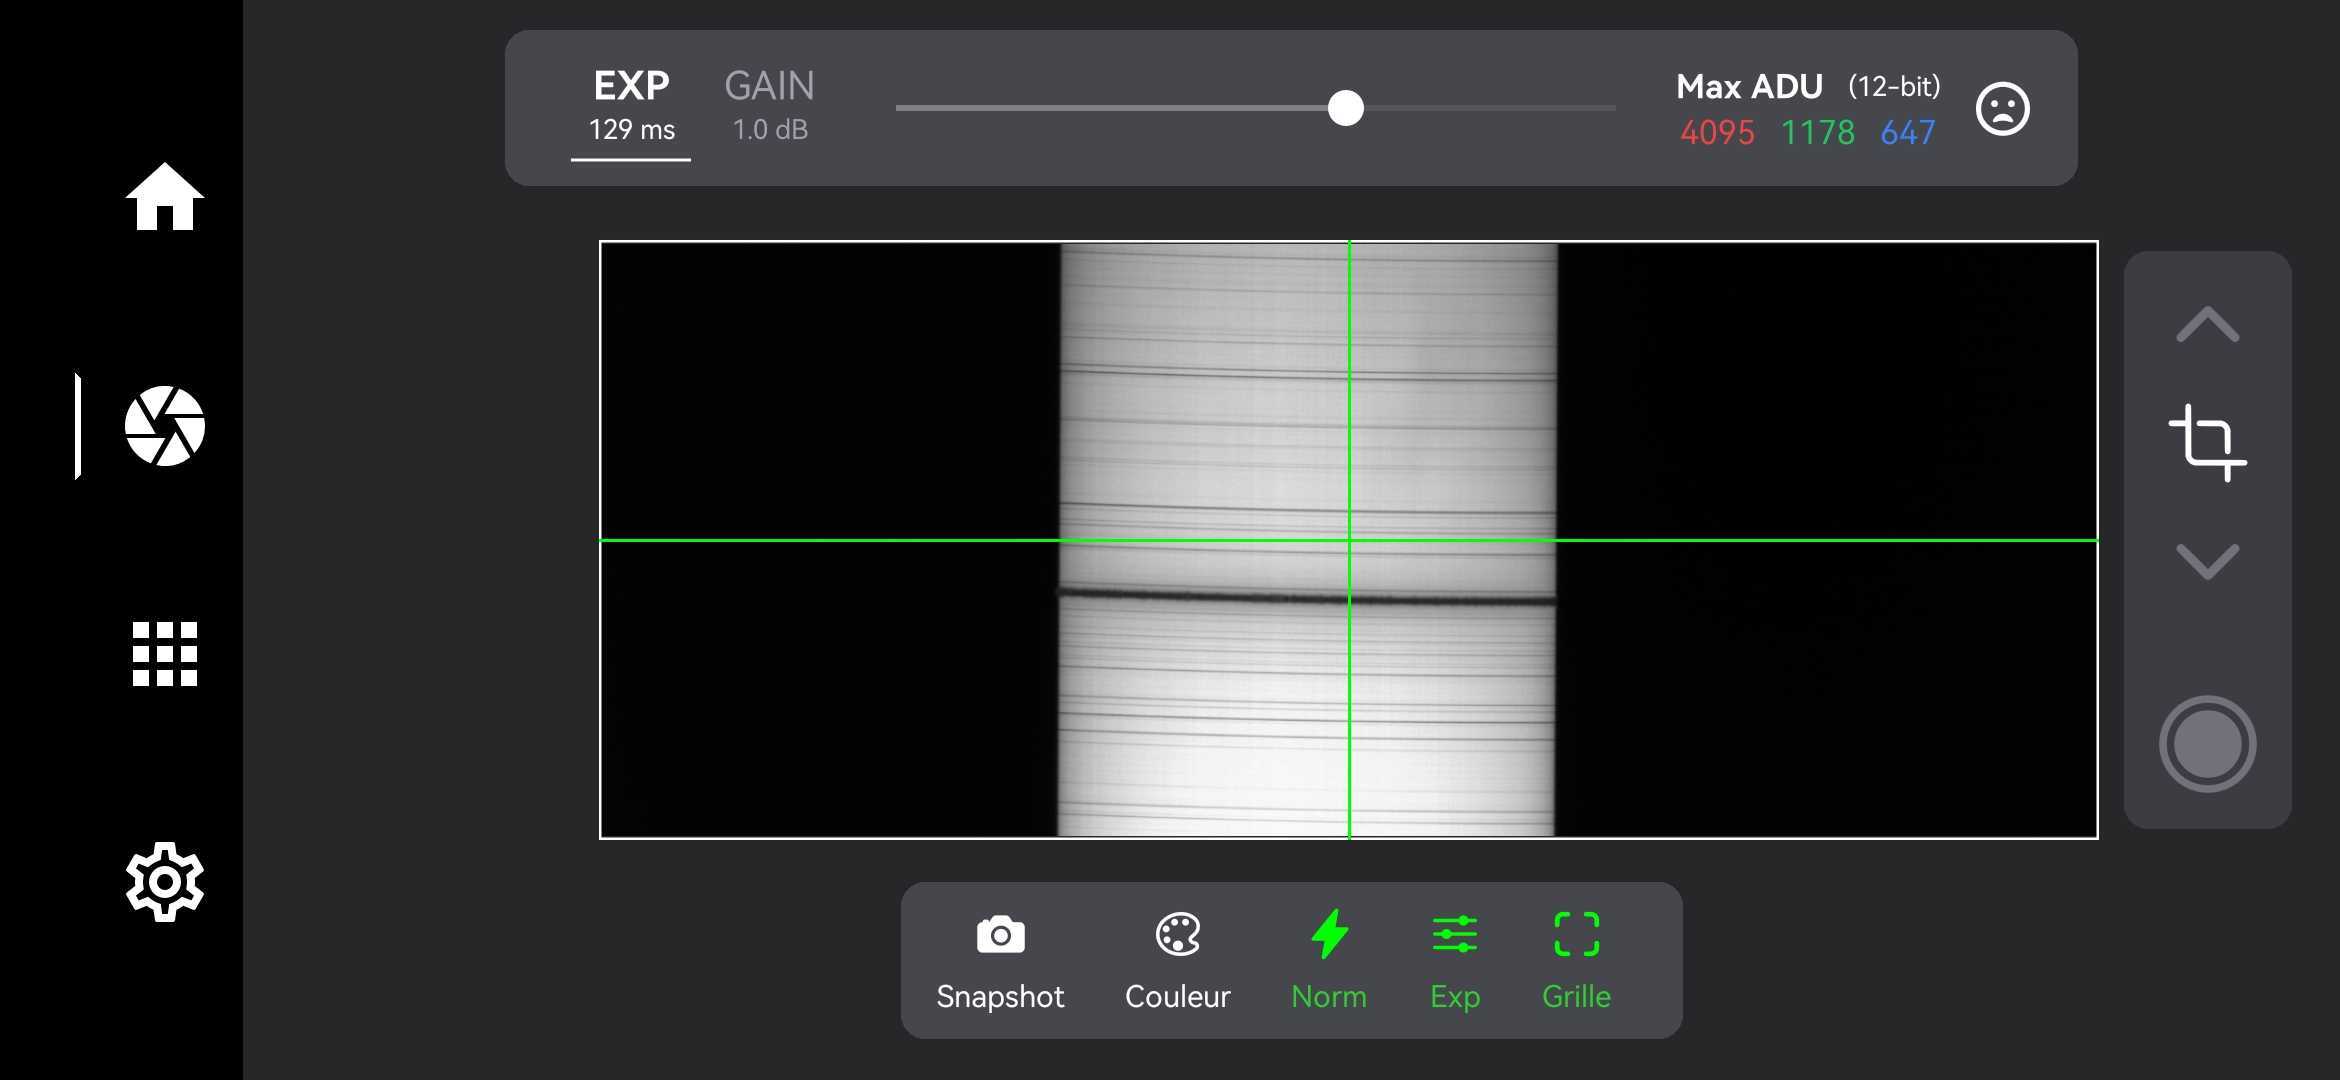
Ensure that you are centered on the Sun and that the H-alpha line is roughly centered vertically.
* **Optimize Focusing**\
Adjust the focus both on the camera side and the telescope side for optimal clarity.
* **Crop the Image**\
Crop the image to the desired frame for your observation.
* **Prepare for Solar Motion**\
Move the telescope slightly so the Sun is just outside the sensor's view. Be mindful of the Sun's motion so it will move across the sensor during the scan.
* **Start the Capture**\
After positioning the Sun just outside the sensor, begin the capture and wait a few minutes as the Sun moves across the sensor. Allow a few additional seconds after the Sun has crossed to capture any solar prominences, then stop the acquisition.
* **Process the Scan**\
Go to the gallery, tap the thumbnail of your scan to start the reconstruction of the solar disk.
* **Admire Your Images**\
View your reconstructed solar images.
* **Advanced processing (Continuum and Doppler)**\
To apply additional processing, such as continuum or Doppler images, click the small gear icons.
* **View Scan Information and log**\
Click the small "i" icon to see detailed information about your scan.